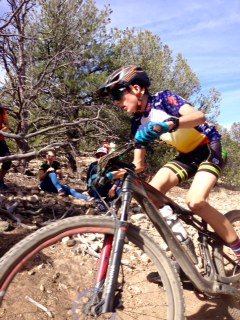
Movement of Biking
To be a 21st century learner is to be someone with a creative mind that always goes above and thinking of different ways to do the same thing. This project consisted of a lot of research as well as practice. The first picture on the left is from last fall and was one of the first movement pictures I have ever taken. The pictures on the right are the pictures I had taken after lots of research and failed pictures and lots of editing. To begin this project I began by researching how to take good movement pictures of people on a bike. I found that it has a lot to do with the angle and where you take the picture from as well as the lighting and the background.
|
|
PHOTOSHOP TUTRIALS
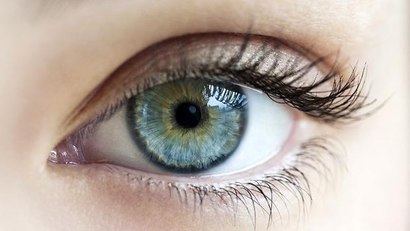
Eye Color Change:
|
Before:
|
After:
|
|

|
To start this project off, I found the before picture on the internet and brought it into photoshop. I watched a tutorial on how to do this and changed the color along with the tutorial. First I used the pen tool to select the iris of the eye then used the layer button to select the layer and change the colors. I chose to change the saturation of this picture. After editing the colors, my final product was this after picture.
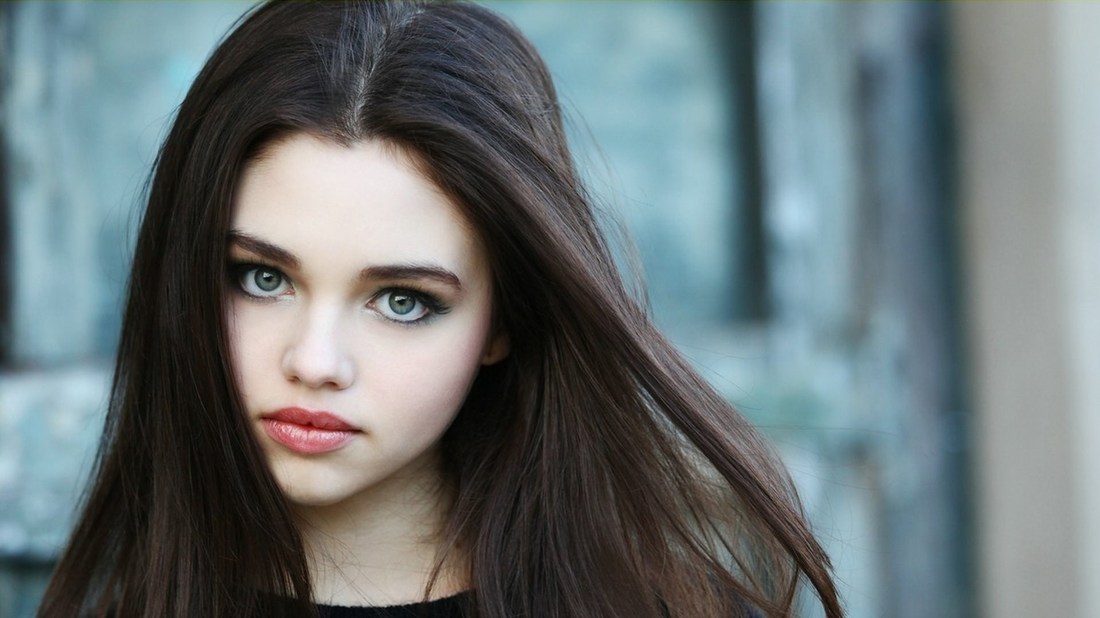
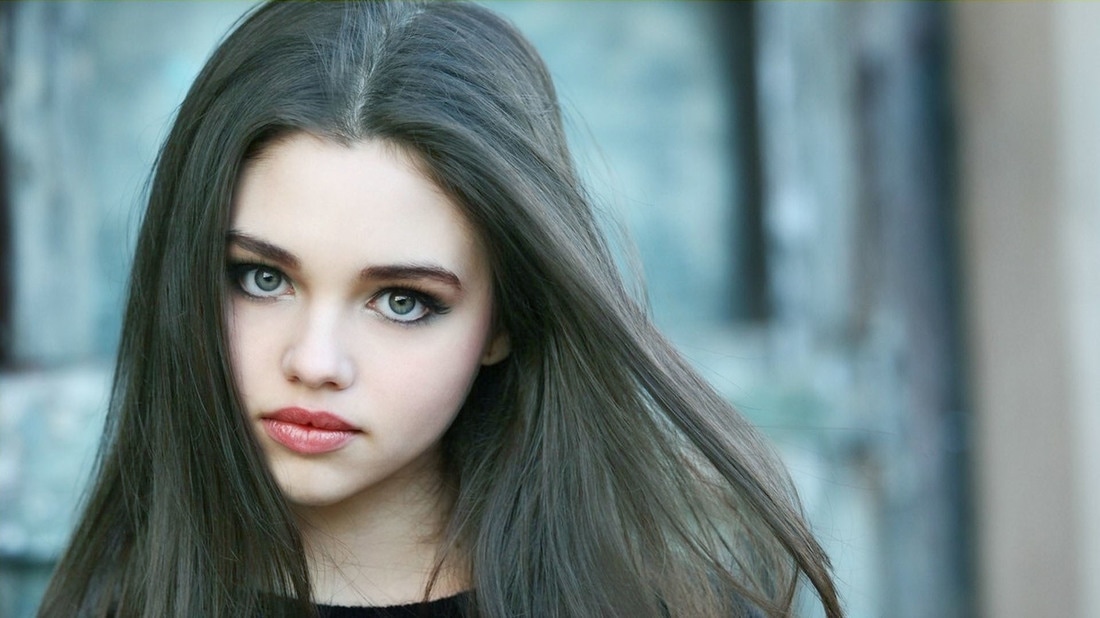
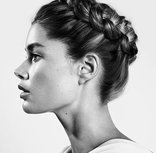
Hair Color Change:
|
Before:
|
After:
|
|
|
For this project, I started by finding the girl picture on the internet and a tutorial to go along with it. I first chose the brush tool and chose a color that I liked. I changed the opacity at which the color I painted would show up and the softness of the brush so it was not a solid color. After changing these things, i began to paint only over the hair of the girl. I started with the main parts and a large brush then got down to the little wisps with the smaller brush. After doing this, I took the eraser and erased and excess color that was on the background. After that I changed the hue one last time and got the edited picture you see now.
Transulent Trees
|
Before:
|
After:

|
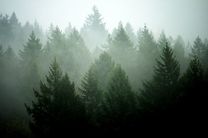
For this project, I looked up cool photoshop tutorials to do and I found this one. I stated out by finding my two starting pictures (the before pictures). I took the trees and placed them on the model and changed their opacity so that I could see the model and the trees. I then began to change the models black and white layers so that you did not see the top of her head or the trees on er neck. I had to change the color of the trees to black and white as well so that it looked and merged much better. This was a very difficult process that took a very long time and lots of guess and check but in the end, the product was pretty thorough.
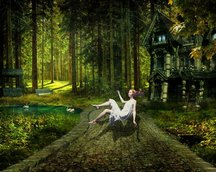
The Floating Girl
|
Before:
|
After:
|
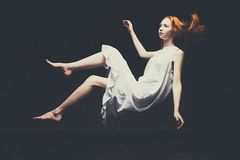
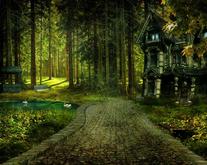
This tutorial was very hard for me because of how different my version was from the older version of photoshop that the tutorial was being done on. I started by opening up both pictures then cutting out the girl. I then took a copy of that and moved it over to the forest picture. I adjusted her size so that it looked more natural. After that, I had to drop her shadow. This part was fairly easy but then I had to distort it so it looked like she was floating. I had to adjust the opacity, and move the figure so it seems as if she is floating. After this, I adjusted the background a little bit. This was difficult but very fun.
